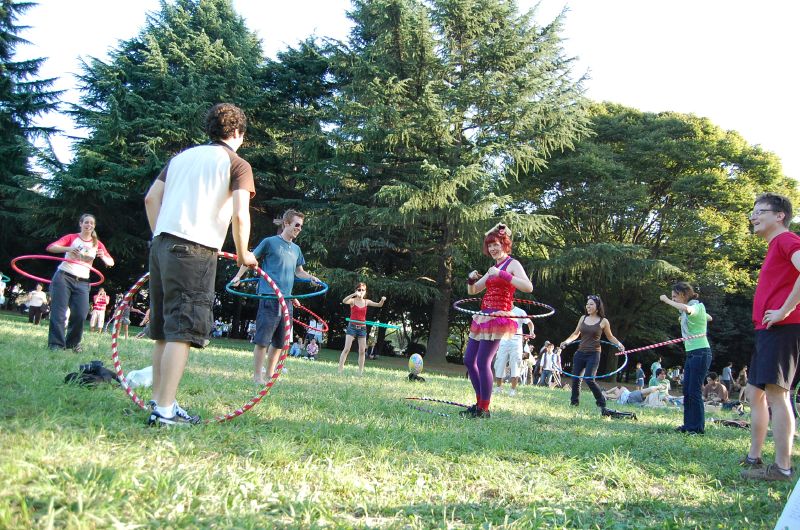
It’s summertime and the parks and beaches are calling. Let’s go outside to teach! Here are a few practical pointers:
The Space
- Circles are great structures for the class space and keep onlookers from randomly joining the group. If you are all lined up in rows or scattered randomly in a space people tend to wander over and join. That’s not an issue if you’re doing a free class, but if your students paid to be there then you want to keep it exclusive.
- If you are getting down on the ground, whether it’s in the warmup or specific move training, be sure you have enough yoga mats or picnic blankets. Ask people bring their own and have a few spare. Most urban folks aren’t too keen on rolling around directly on grass and dirt.
- Check your park for a shady spot or time your session in the cooler part of the day. Activity in full sun is unpleasant.
- Be aware of the condition of the ground. Try to avoid uneven ground, loose dirt or soft sand. Groom the area before class by picking up trash, removing large stones, etc.
- Not all outdoor spaces are suited to music; try leading your outdoor classes without tunes. If you do choose music, make sure it is loud enough for your students to hear but not blasting nearby picnickers.
- Create a secure space for bags. A tarp in the center of the circle works and helps to keep the circle from drifting, too. Encourage students to leave valuables at home.
The Onlookers
- What you’re doing is fun to watch, so expect photographers and gawkers. Bystanders may interrupt your class with questions. Practice gestures that clearly indicate wait a moment, no, and yes. Be careful not to let interruptions disturb the flow or focus of your students.
- Deliver all communication to strangers with a smile, even the no. Nobody wants their instructor to seem angry. I’ve failed on this a few times and it’s done bad things for my reputation.
- Wear a t-shirt with your brand/name/logo, city, and contact info on it. The location and contact info help people to see that you are local and they can get in touch with you. Also, have your flyers or business cards out and ready share.
- If you normally end your class with a group routine or review of the tricks you’ve taught, you may have a built-in audience in the park. Make use of it and put on a show for them.
The Class
- Start with a warmup to get everyone focussed. An outdoor classroom has a lot of distractions and sometimes students can be shy when they know people might be watching.
- Outdoor classes allow you to teach big moves, high tosses and other things that need lost of vertical space. Take advantage of that.
- Offer more breaks than you would normally, especially on very hot or sunny days. Five minute water breaks also give you a chance to speak with people trying to interrupt your class.
- Get a group shot after class. You’re in a beautiful setting. Capture the moment.
The Rules
- Check with your city parks/rec department to find out about permits. Some places require them for large groups or events that charge a fee. It is embarrassing and upsetting if your class is broken up by park police, believe me.
- Decide on a rain policy. If the weather is inclement, will you refund, reschedule, or relocate the class?

