Categories
Info and News Materials & Essays

How to Size a Hoop Studio

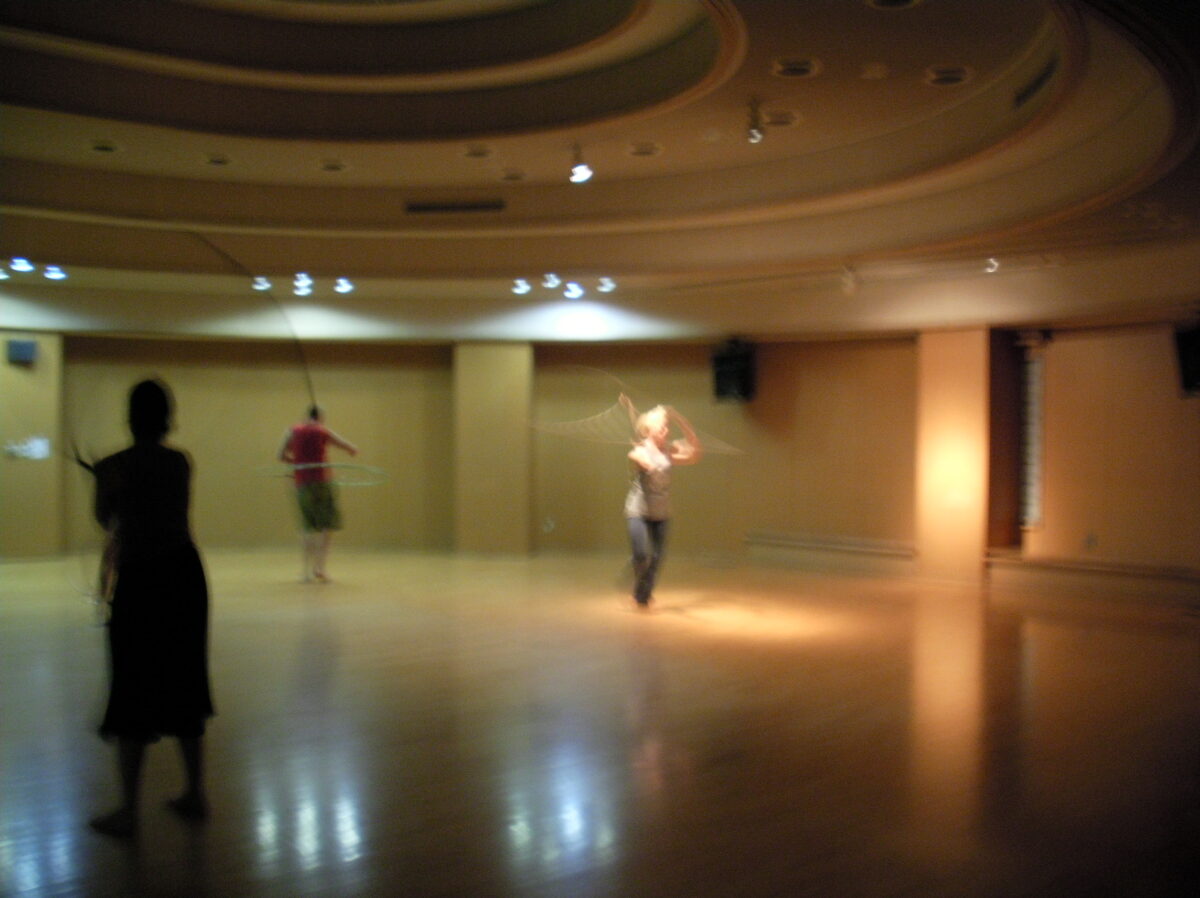
When we head indoors to hoop, we start to look for locations where we have enough space.

Some of us are lucky to find a gymnasium to use – enough space for everything you might want to do. The rest of us have to look into dance studios, community centers and other places that weren’t meant for large scale athletics.

When you are evaluating a room to hold classes and hoop jams, how can you tell how many hoopers will fit in it? This is an important question if you are sharing the rental price or trying to cover it with your class fees and still make a profit.

A hooper needs space on all sides for the hoop to spin, and different hooping styles need more or less space. For example, waist hooping needs less space than most off-body hooping. hooper-area
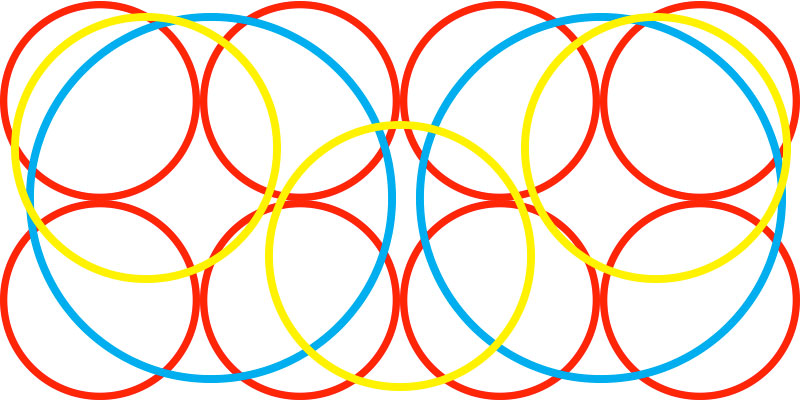
The same space will hold eight on-body hoopers, or 2-3 off-body hoopers. 

How Much Space is Enough?

You can figure the area needed per hooper based on armspan + the size of the hoops you use.  Let’s do the math for four different scenarios.

On-body hooping

On-body hooping is pretty compact. For each hooper, you’ll want armspan + a bit or twice the diameter of the hoop, whichever is bigger. This doesn’t allow for much moving around, dancing or flailing but it is enough to stand and hoop on waist, legs, and shoulders without hitting anyone.

Armspan is about the same as height, so if your hoopers average 5’7″/170 cm and your hoops are 40″/100 cm, you are looking for an 80″/200 cm circle. That’s about 44 square feet/4 sq m per person. 

Circles can pack into a space more tightly than squares, but a square gives you a little extra room for footwork and it is easier to figure out when you are looking at a floorplan that’s marked in square feet or square meters.

Off-body hooping

Off body hooping needs space to extend the arm with the hoop and spin all the way around without smacking anyone. Some tricks, like the eagle roll or many off-body twins moves, require space for a hoop on both sides.

 Calculate armspan + two hoops.  Using the same example sizes as above, you’ll need a 12″/370 cm circular space, or 144 square feet/14 sq m per hooper.

That’s quite a bit of area, so if you aren’t going to be doing a lot of twins play or eagle rolls, you can figure it by armspan + 1 hoop which is about 81 sq ft/7.5 sq m per person. 

Overhead hooping

Ceilings! Hooping needs more height than most dance activities, so you’ll find lots of dance and yoga studios with low ceilings or lights hanging down into space we need for mandalas and overhead passes. The perfect ceiling is really, really high for throws. Unless you’ve secured a gymnasium, you need to think about the space above your head. With lower ceilings, you’ll need to limit the overhead tricks .

A good overhead height will be height + arm + hoop  and for sake of simplicity, let’s call the arm half the height of the body (it’s usually a bit less than half). For your 5’7″ hooper with a 40″ hoop, you’ll want about 11 feet/3.5 m of clearance.

Other space in your space

When figuring out the number of students that will fit into your prospective studio, don’t forget space for yourself and for the inevitable gap between instructor and students. You may also need space for people’s coats and bags, extra hoops, and other gear.
Categories
Info and News Upcoming Events

Drawing Meditations, stillness for people who need to move

On the flip side of circus, dance, yoga and movement arts is a place of stillness. It’s hard to get there sometimes, but necessary to find. We must rest between bursts of energy. The still place is also a time  – moments to recuperate and refresh before stepping back out onto the stage or into the classroom.

I occupy that still place with drawing and writing. And recently I’ve been working with my friend Tracey to create a new and uncommonly good project for relaxation and meditation. It’s not strictly Spin Matsuri, but it’s the other half of me so I want to share it with you.

img_20151216_110158_23153690483_o

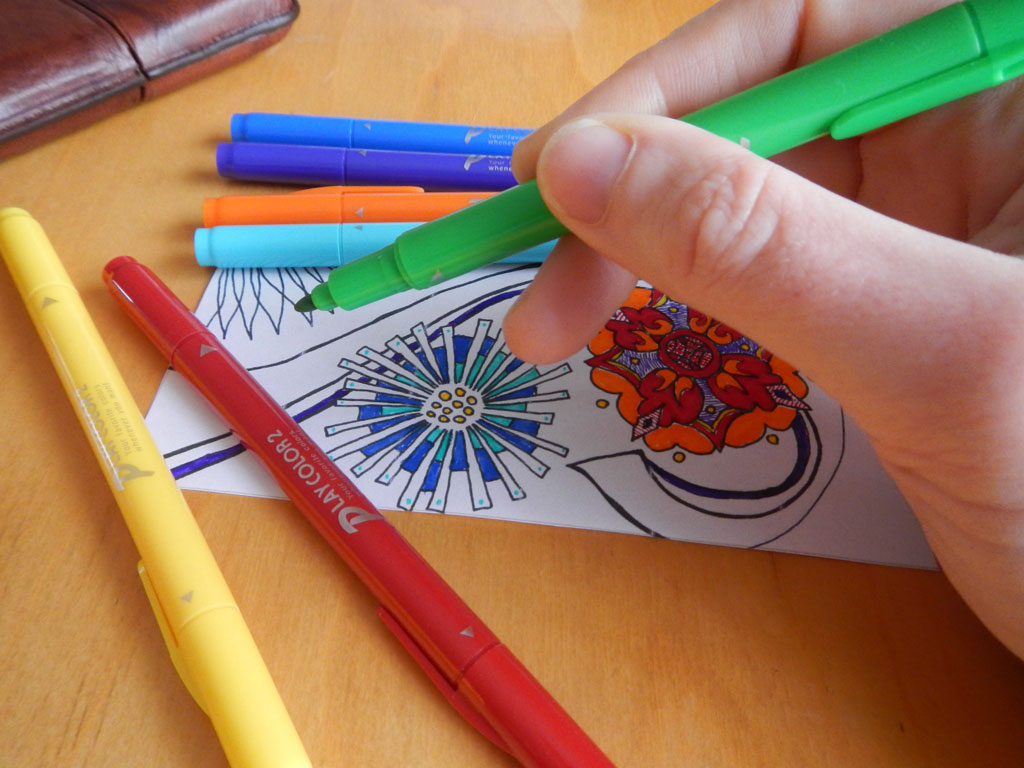
Drawing Meditations is a two-for-one relaxation combo: coloring-in pages with guided meditations. We offer them in our Etsy shop as a deluxe gift set (pictured above) a less elaborate kit, or individual downloads.

The pairing of drawing and audio is brilliant, especially for people like me who don’t do silent meditation very well. While your left brain focuses on the technical aspects of coloring, your right brain enjoys flowing into the present moment with the meditation.

I’m working on some new coloring pages this month, and Tracey and I are hosting a live Drawing Meditations event – Coloring-In Party featuring Drawing Meditations on March 12th in Tokyo. I’ll be premiering two new meditations and their coloring sheets and also offering a hands-on tutorial on coloring techniques. If you’d like to attend, please RSVP to me or though the Drawing Meditations Facebook page.

Categories
Info and News Social Circus

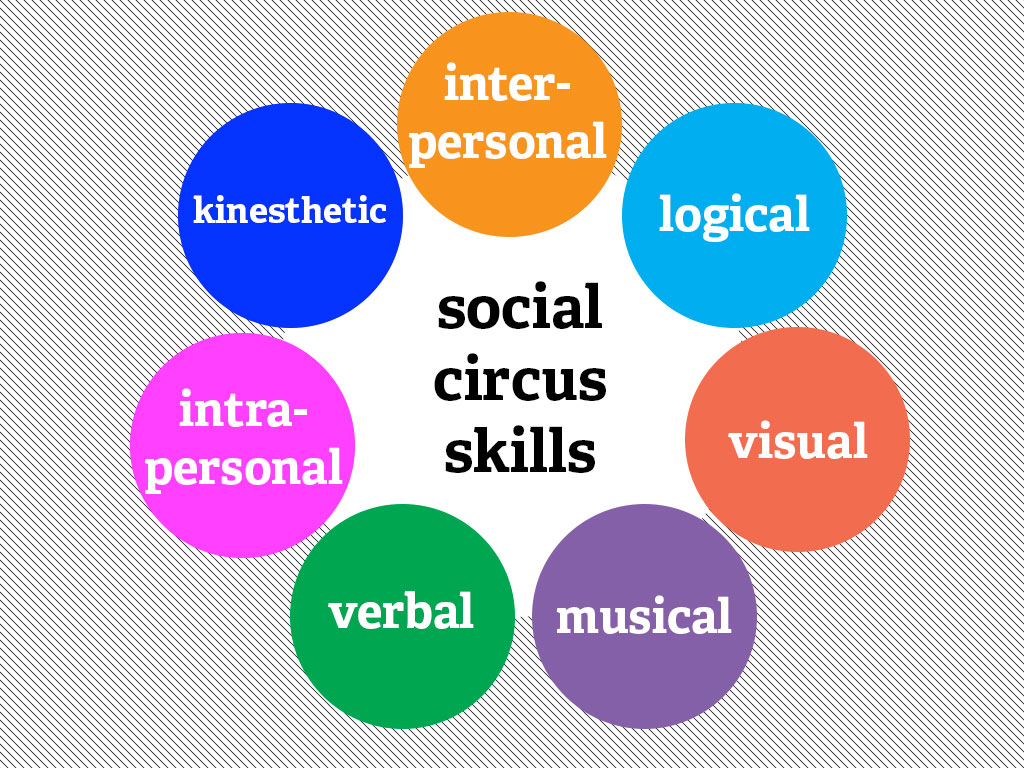
Multiple Intelligences in the Social Circus

Here’s an article that I wrote for Spark Circus last month about how circus activities for kids and adults touch on many of the learning modes that are overlooks in traditional school settings.

By taking circus classes and workshops, you and your kids, students, or employees benefit with expanded ability in interpersonal teamwork, intrapersonal (self-reflection) awareness, and a slew of other skills from rhythm to logic!

Who knew you could get all of that just from a hula hoop or some juggling balls?

Categories
Info and News

How I got started hooping

Seven years ago today, I was an unwilling participant in a hoop dance class. Tracey, the keitaigoddess and my dear friend, dragged me along. “It’s fun, you should try!”

I could not get behind that idea. At the time, I was doing freelance video editing, writing, and spending lots of time in front of a computer. I did not dance. And I definitely did not hula hoop.

But Tracey is persistent and was trying to help her friend, Deanne, who’d just started teaching classes in Tokyo. So after a few times saying no, I capitulated even though I didn’t want to. It was easier to say yes and get it over with.

I especially didn’t want to go to Deanne’s class because on 8/8/8 there was a World Hoop Day event at Yoyogi Park. Tracey encouraged me to attend – we’d meet there after work and it would be a fun evening together. Except that I got there before her and spied people moving and laughing through the trees. They looked much more graceful/energetic/cool/young/interesting than me. From a safe spot out of their sight, I called Tracey to see when she’d arrive and found out she was running an hour late. I left the park. My shy, low self-esteem persona could not approach the beautiful people alone.

Needless to say, I was terrified to take that first hoop dance class.

My fears were unfounded. Not only was Deanne encouraging and friendly, but I could hoop! It was such a surprise. So much fun; Tracey was right. I bought two hoops from Deanne the next day – her last two from Bunny Hoop Star in Sydney –  and regularly attended her classes and workshops. I spent a delightful half year of intensive learning and experimenting with fellow Hooplovers students, Amanda and Stina.

Hoop dance set off a cascade of new experiences. I took dance classes and started doing yoga. I performed, taught, & made hoop videos.  I tried my hand at hoop choreography with the WHD Dance. Deanne and I started Spin Matsuri Retreat as a Japan-based hoop camp experience in 2009. I attended overseas hoop & juggling events in the US, Australia, and Europe. I did a “world tour” with my own classes in 2012. Ran away with the circus in 2013 and now I am about to launch new projects in social circus.

So take it from me, if someone suggests you go to a hoop dance class your best answer is “yes!”

Categories
Materials & Essays

15 Tips for Teaching Outdoors

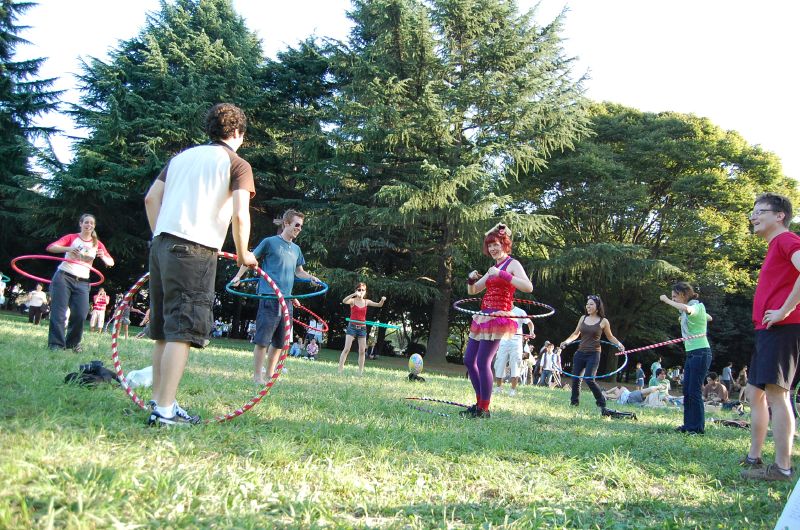
It’s summertime and the parks and beaches are calling. Let’s go outside to teach! Here are a few practical pointers:

The Space

  1. Circles are great structures for the class space and keep onlookers from randomly joining the group. If you are all lined up in rows or scattered randomly in a space people tend to wander over and join. That’s not an issue if you’re doing a free class, but if your students paid to be there then you want to keep it exclusive.
  2. If you are getting down on the ground, whether it’s in the warmup or specific move training, be sure you have enough yoga mats or picnic blankets. Ask people bring their own and have a few spare. Most urban folks aren’t too keen on rolling around directly on grass and dirt.
  3. Check your park for a shady spot or time your session in the cooler part of the day. Activity in full sun is unpleasant.
  4. Be aware of the condition of the ground. Try to avoid uneven ground, loose dirt or soft sand. Groom the area before class by picking up trash, removing large stones, etc.
  5. Not all outdoor spaces are suited to music; try leading your outdoor classes without tunes. If you do choose music, make sure it is loud enough for your students to hear but not blasting nearby picnickers.
  6. Create a secure space for bags. A tarp in the center of the circle works and helps to keep the circle from drifting, too. Encourage students to leave valuables at home.

The Onlookers

  1. What you’re doing is fun to watch, so expect photographers and gawkers. Bystanders may interrupt your class with questions. Practice gestures that clearly indicate wait a moment, no, and yes. Be careful not to let interruptions disturb the flow or focus of your students.
  2. Deliver all communication to strangers with a smile, even the no. Nobody wants their instructor to seem angry. I’ve failed on this a few times and it’s done bad things for my reputation.
  3. Wear a t-shirt with your brand/name/logo, city, and contact info on it. The location and contact info help people to see that you are local and they can get in touch with you. Also, have your flyers or business cards out and ready share.
  4. If you normally end your class with a group routine or review of the tricks you’ve taught, you may have a built-in audience in the park. Make use of it and put on a show for them.

The Class

  1. Start with a warmup to get everyone focussed. An outdoor classroom has a lot of distractions and sometimes students can be shy when they know people might be watching.
  2. Outdoor classes allow you to teach big moves, high tosses and other things that need lost of vertical space. Take advantage of that.
  3. Offer more breaks than you would normally, especially on very hot or sunny days. Five minute water breaks also give you a chance to speak with people trying to interrupt your class.
  4. Get a group shot after class. You’re in a beautiful setting. Capture the moment.

The Rules

  1. Check with your city parks/rec department to find out about permits. Some places require them for large groups or events that charge a fee. It is embarrassing and upsetting if your class is broken up by park police, believe me.
  2. Decide on a rain policy. If the weather is inclement, will you refund, reschedule, or relocate the class?
Categories
Materials & Essays

DIY Juggling Balls

juggling-balls

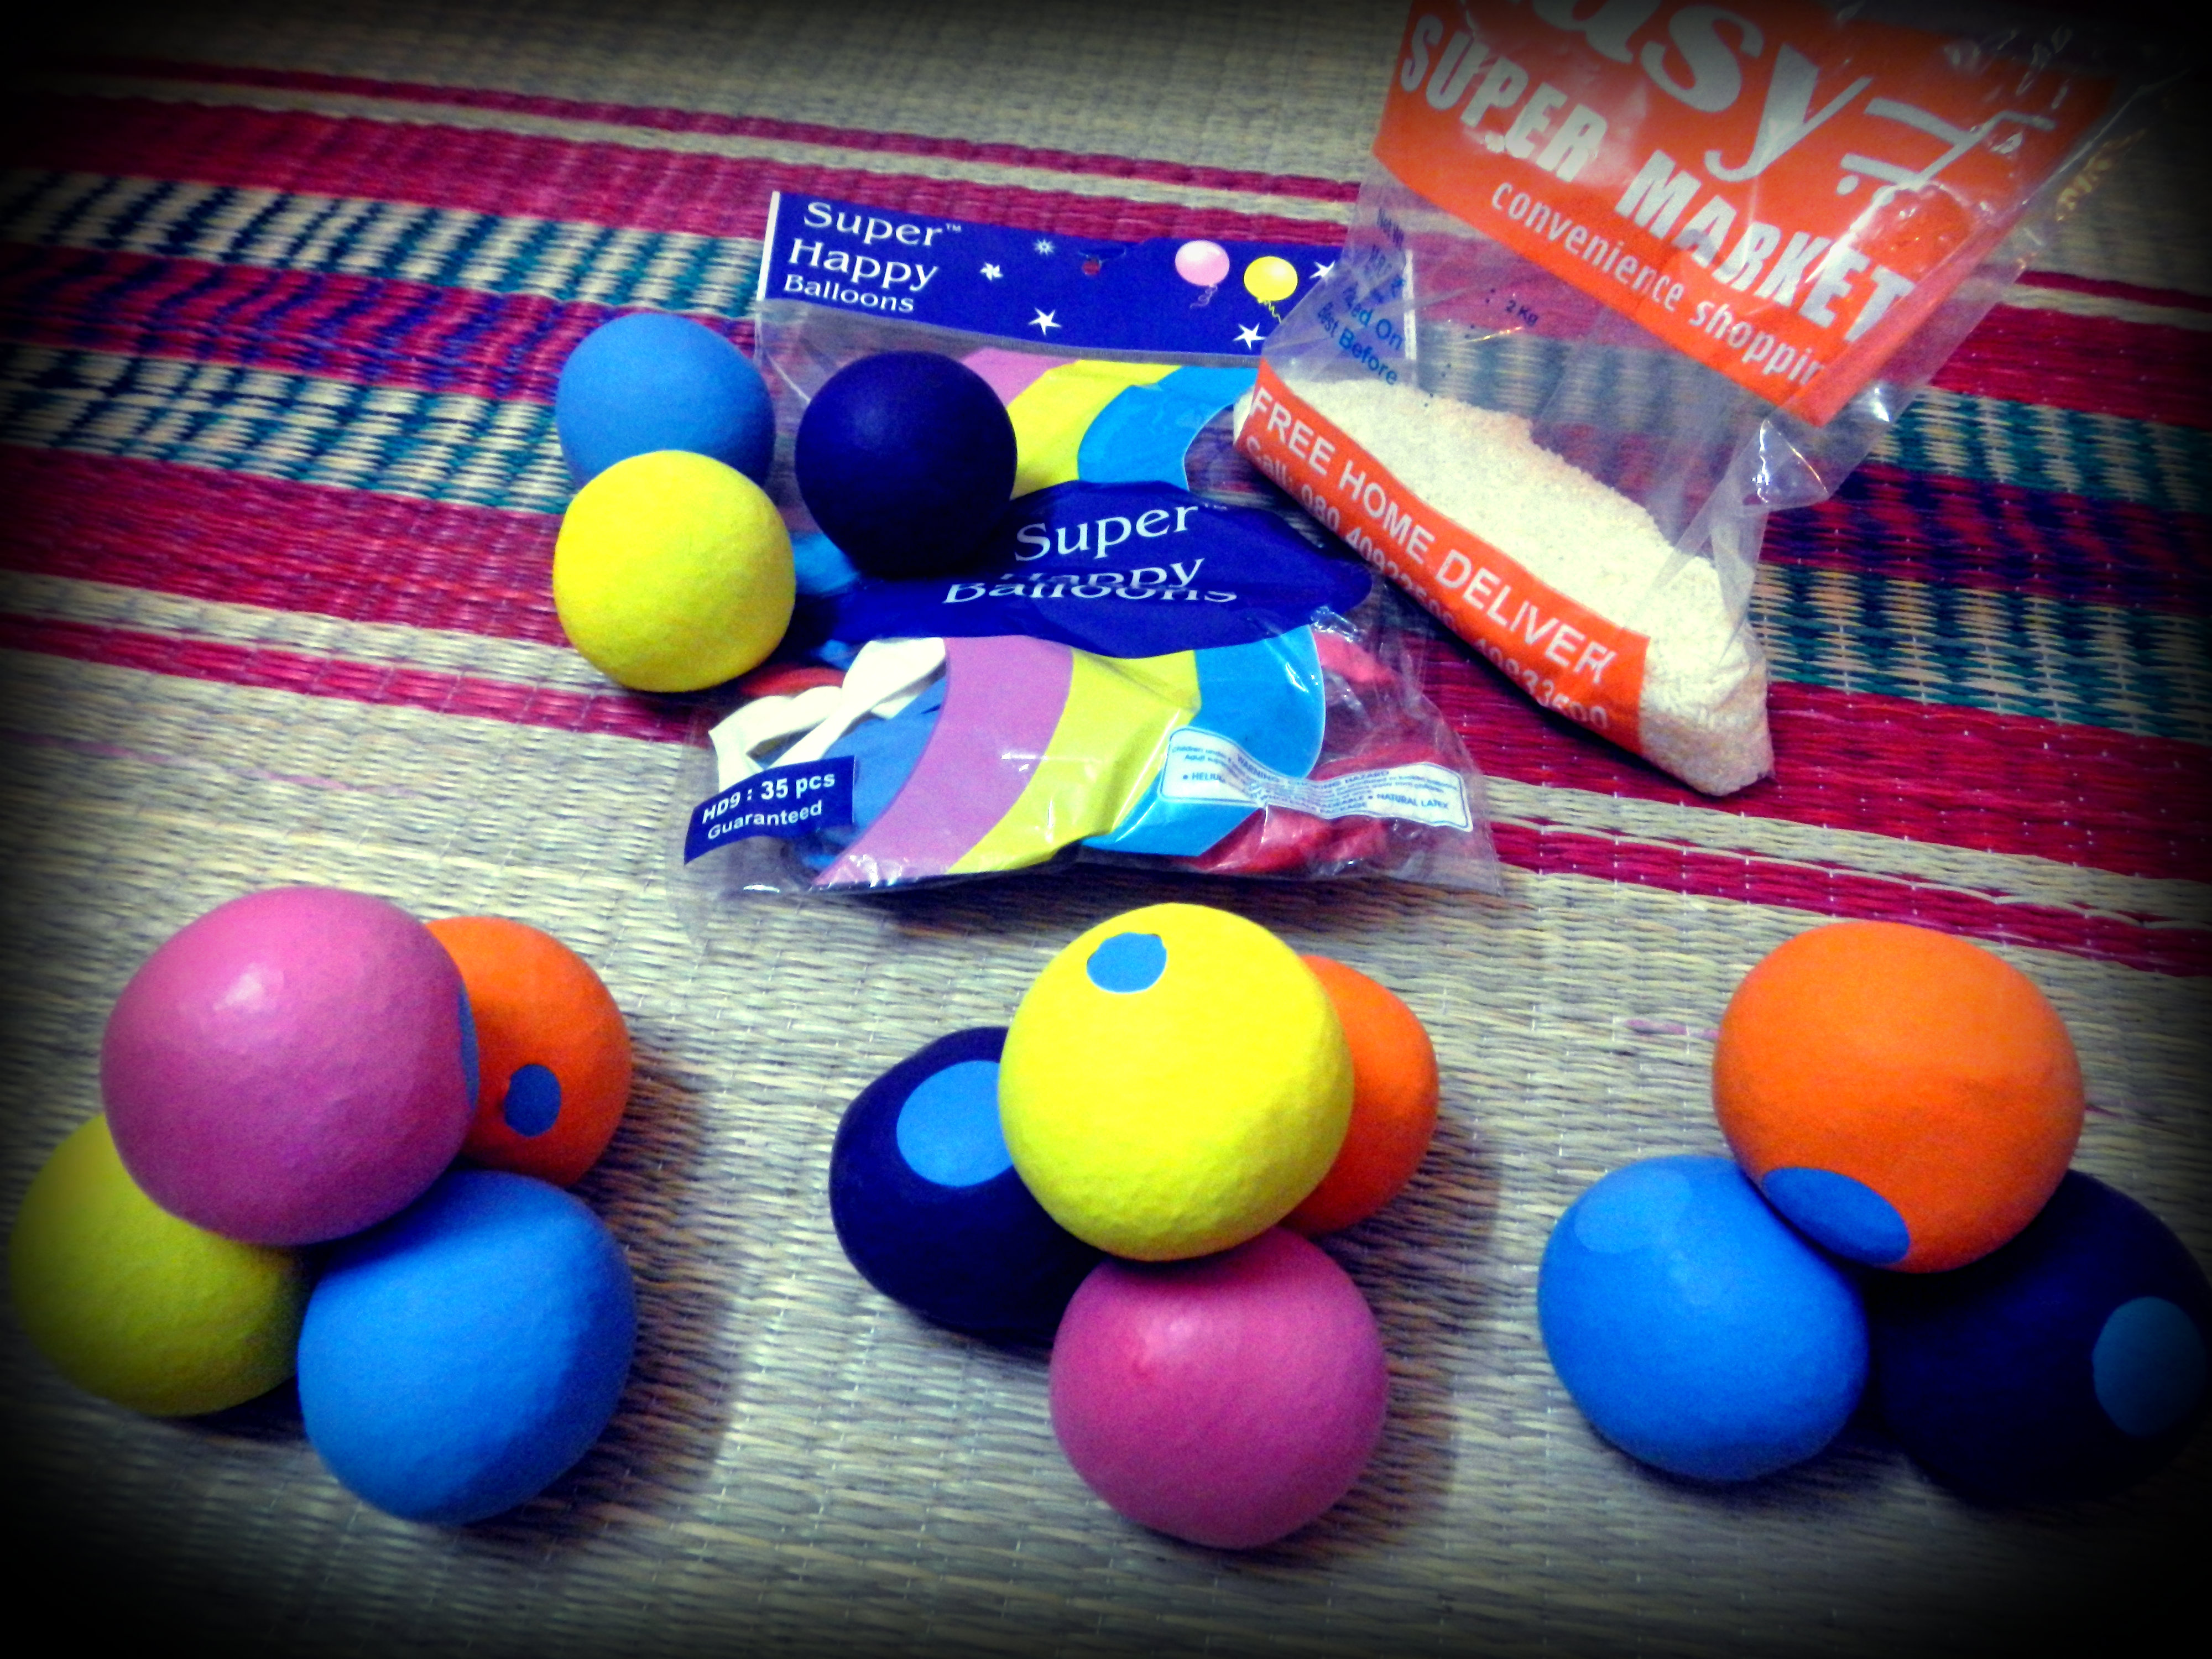
It’s easy and inexpensive to make your own juggling balls for practice or, in my case, a whole bunch for workshops.

For each set of three balls, you’ll need:

300 grams of rice, about 1/2 cup for each ball
9 (or more) 9″ latex balloons
3 lightweight plastic bags or plastic wrap
scissors
tape (optional)

Cut the necks off the balloons. Pour 1/2 cup (100 grams) of rice into each bag. Twist the bag shut, removing any extra air, and trim the twisted end into a tail a few centimeters long. Optionally, tape the twisted part to the bag to prevent spillage. Open the cut end of the balloon and stretch it around the bag. Repeat with the remaining balloons, alternating sides to cover the circular gaps.

Done! The balloons tend to rip and shred when dropped on rough surfaces, so carry a few spare balloons with you for repairs.

Categories
Materials & Essays

50 Positive Words for Hoop Teachers

Using positive words with students is a powerful teaching technique. Everyone responds well to genuine and sincere praise. It’s especially helpful to point out something specific about a student’s effort – whether it is how hard they are working, a natural gift for rhythm, or graceful footwork.

But as a teacher, I find myself stuck using the same three or four phrases repeatedly. I am sure my students are getting bored being told they are awesome, terrific, and gorgeous! So here is a list of 50 useful adjectives that you can use to pump up your praise without repeating yourself. These are also helpful for your own personal affirmations and self-praise.

  1. Alive
  2. Amazing
  3. Animated
  4. Awesome
  5. Beautiful
  6. Blissful
  7. Brilliant
  8. Bubbling
  9. Calm
  10. Comfortable
  11. Courageous
  12. Curious
  13. Ebullient
  14. Effervescent
  15. Energetic
  16. Enlivened
  17. Enthusiastic
  18. Excited
  19. Expressive
  20. Exhilarated
  21. Exuberant
  22. Fabulous
  23. Free
  24. Gorgeous
  25. Graceful
  26. High spirited
  27. Hopeful
  28. Hot
  29. Inspired
  30. Intense
  31. Invigorated
  32. Joyous
  33. Lively
  34. Motivated
  35. Optimistic
  36. Passionate
  37. Patient
  38. Powerful
  39. Radiant
  40. Refreshed
  41. Serene
  42. Soft
  43. Stimulated
  44. Strong
  45. Superb
  46. Surprised
  47. Terrific
  48. Vigorous
  49. Wonderful
  50. Zestful

 Not sure how to start? Try some of the words in these phrases:

You look ____!
When you do X, you show how _____ you are.
Your X is so _____.
I really like how _____ you have become at X.
Do you know how _______ you are?

Categories
Materials & Essays

How to Engage an Audience

There are a lot of tips given to new hoop performers and one of them is always “engage the audience.” Unfortunately that advice is rarely followed up with instructions beyond “smile and make eye contact.” So for my own good, and maybe yours, too, I’ve written up 3 Ways to Engage Your Audience.

Categories
Info and News Workshops & Events

Scenes from the weekend workshops

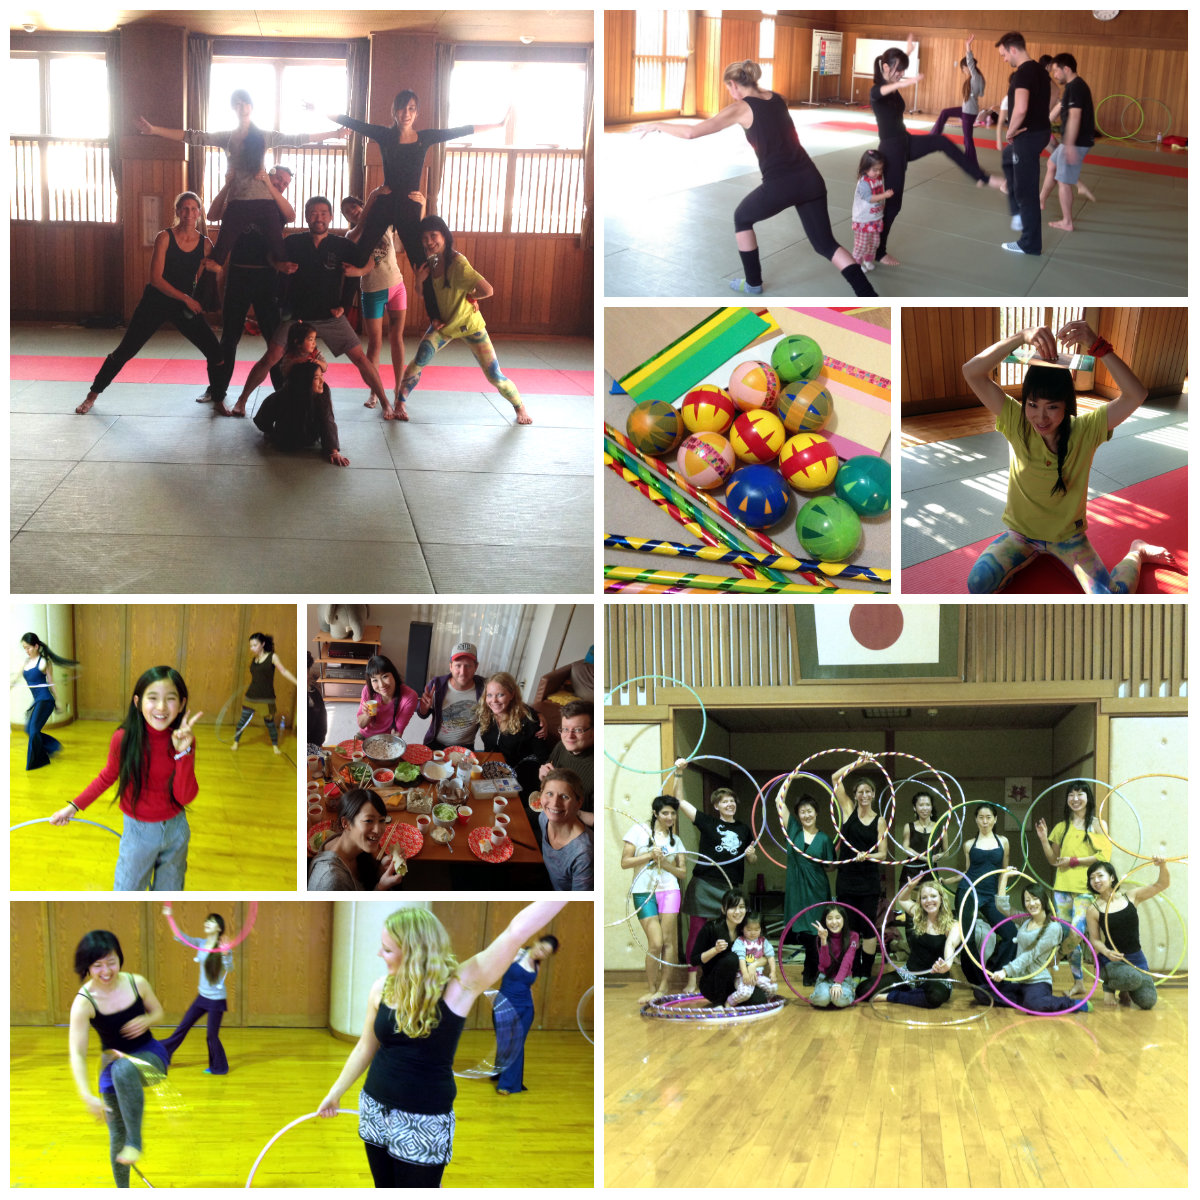
2014-02-01-ws-collageOn Saturday morning, nine Circus Fitness participants walked invisible tightropes, formed a human pyramid, juggled and balanced chocolates on their heads! NHK talent, Jason, joined us and wrote about it on his website, with some cute photos.

After a shared lunch, we were joined by a few extra hoopers and learned new tricks with Jo Mondy, visiting from the UK. I know that Japan’s hoopers will be mastering escalators and butterfly hinges in 2014. Thanks, Jo, for sharing your enthusiasm and ideas.


Categories
4th Sunday Spin Info and News

Retiring 4th Sunday Spin

It is hard to retire a long-running program. As of January 2014 our monthly hoop jam, 4th Sunday Spin, is cancelled. We’ve hosted a lot of fun at Yoyogi Park since 2010 and that you for coming out to play! With so many other terrific community events it is time to step aside for the new players to shine and for Spin Matsuri to focus on other hoop activities.

Wondering where to get your hoop on? Try one of these: